
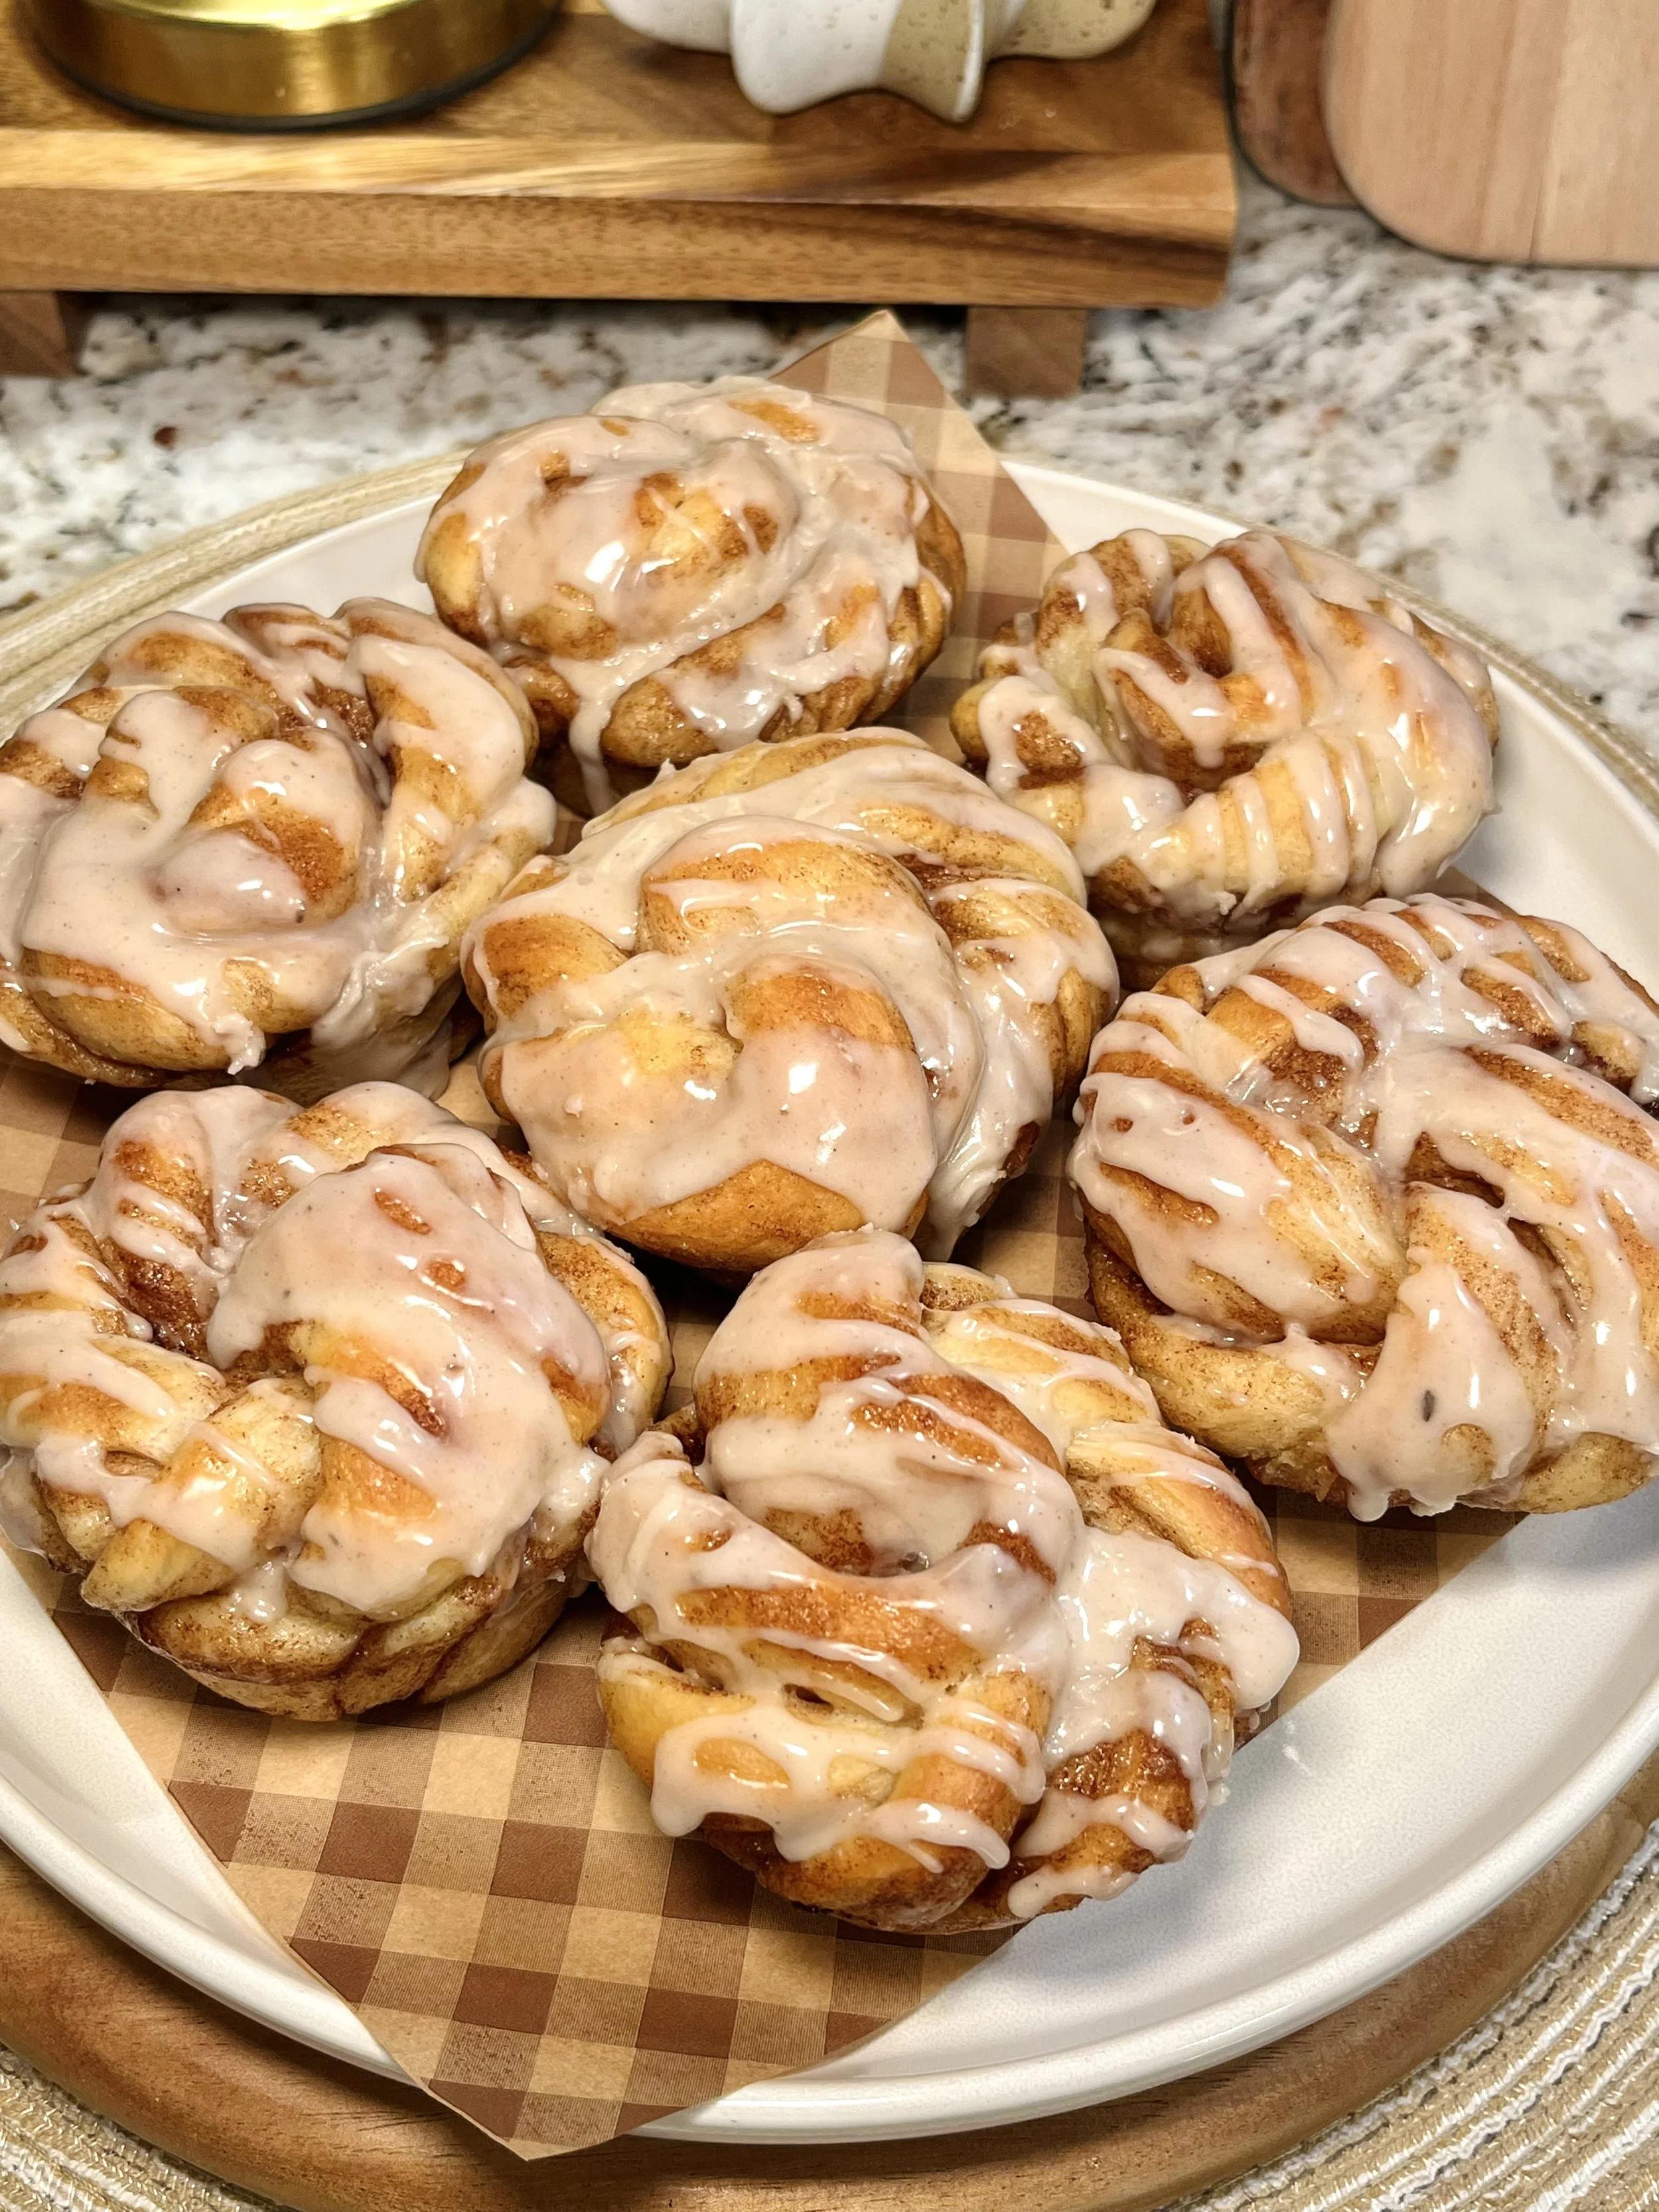
Classic Cinnamon Knots
Untangle Your Taste Buds: Why Cinnamon Knots Are the Ultimate Swirly Treat!
Let’s talk about the unsung hero of the pastry world. We all love the colossal, frosting-drowned cinnamon roll, but let’s be honest—it’s a commitment. It requires two hands, often a knife and fork, and definitely a nap afterward.
Enter the humble, yet wildly charming, Cinnamon Knot!
These are the rebels of the sweet roll family. They're individual, perfectly portioned, deliciously chewy, and have double the corners for maximum sticky-sweet crispiness. They give you all the flavor of a cinnamon roll without making you feel like you just arm-wrestled a sugar coma.
The Anatomy of Knotty Perfection
What makes a Cinnamon Knot better than its roll counterpart? It's all about physics and maximizing the good stuff!
1. The Surface Area Advantage
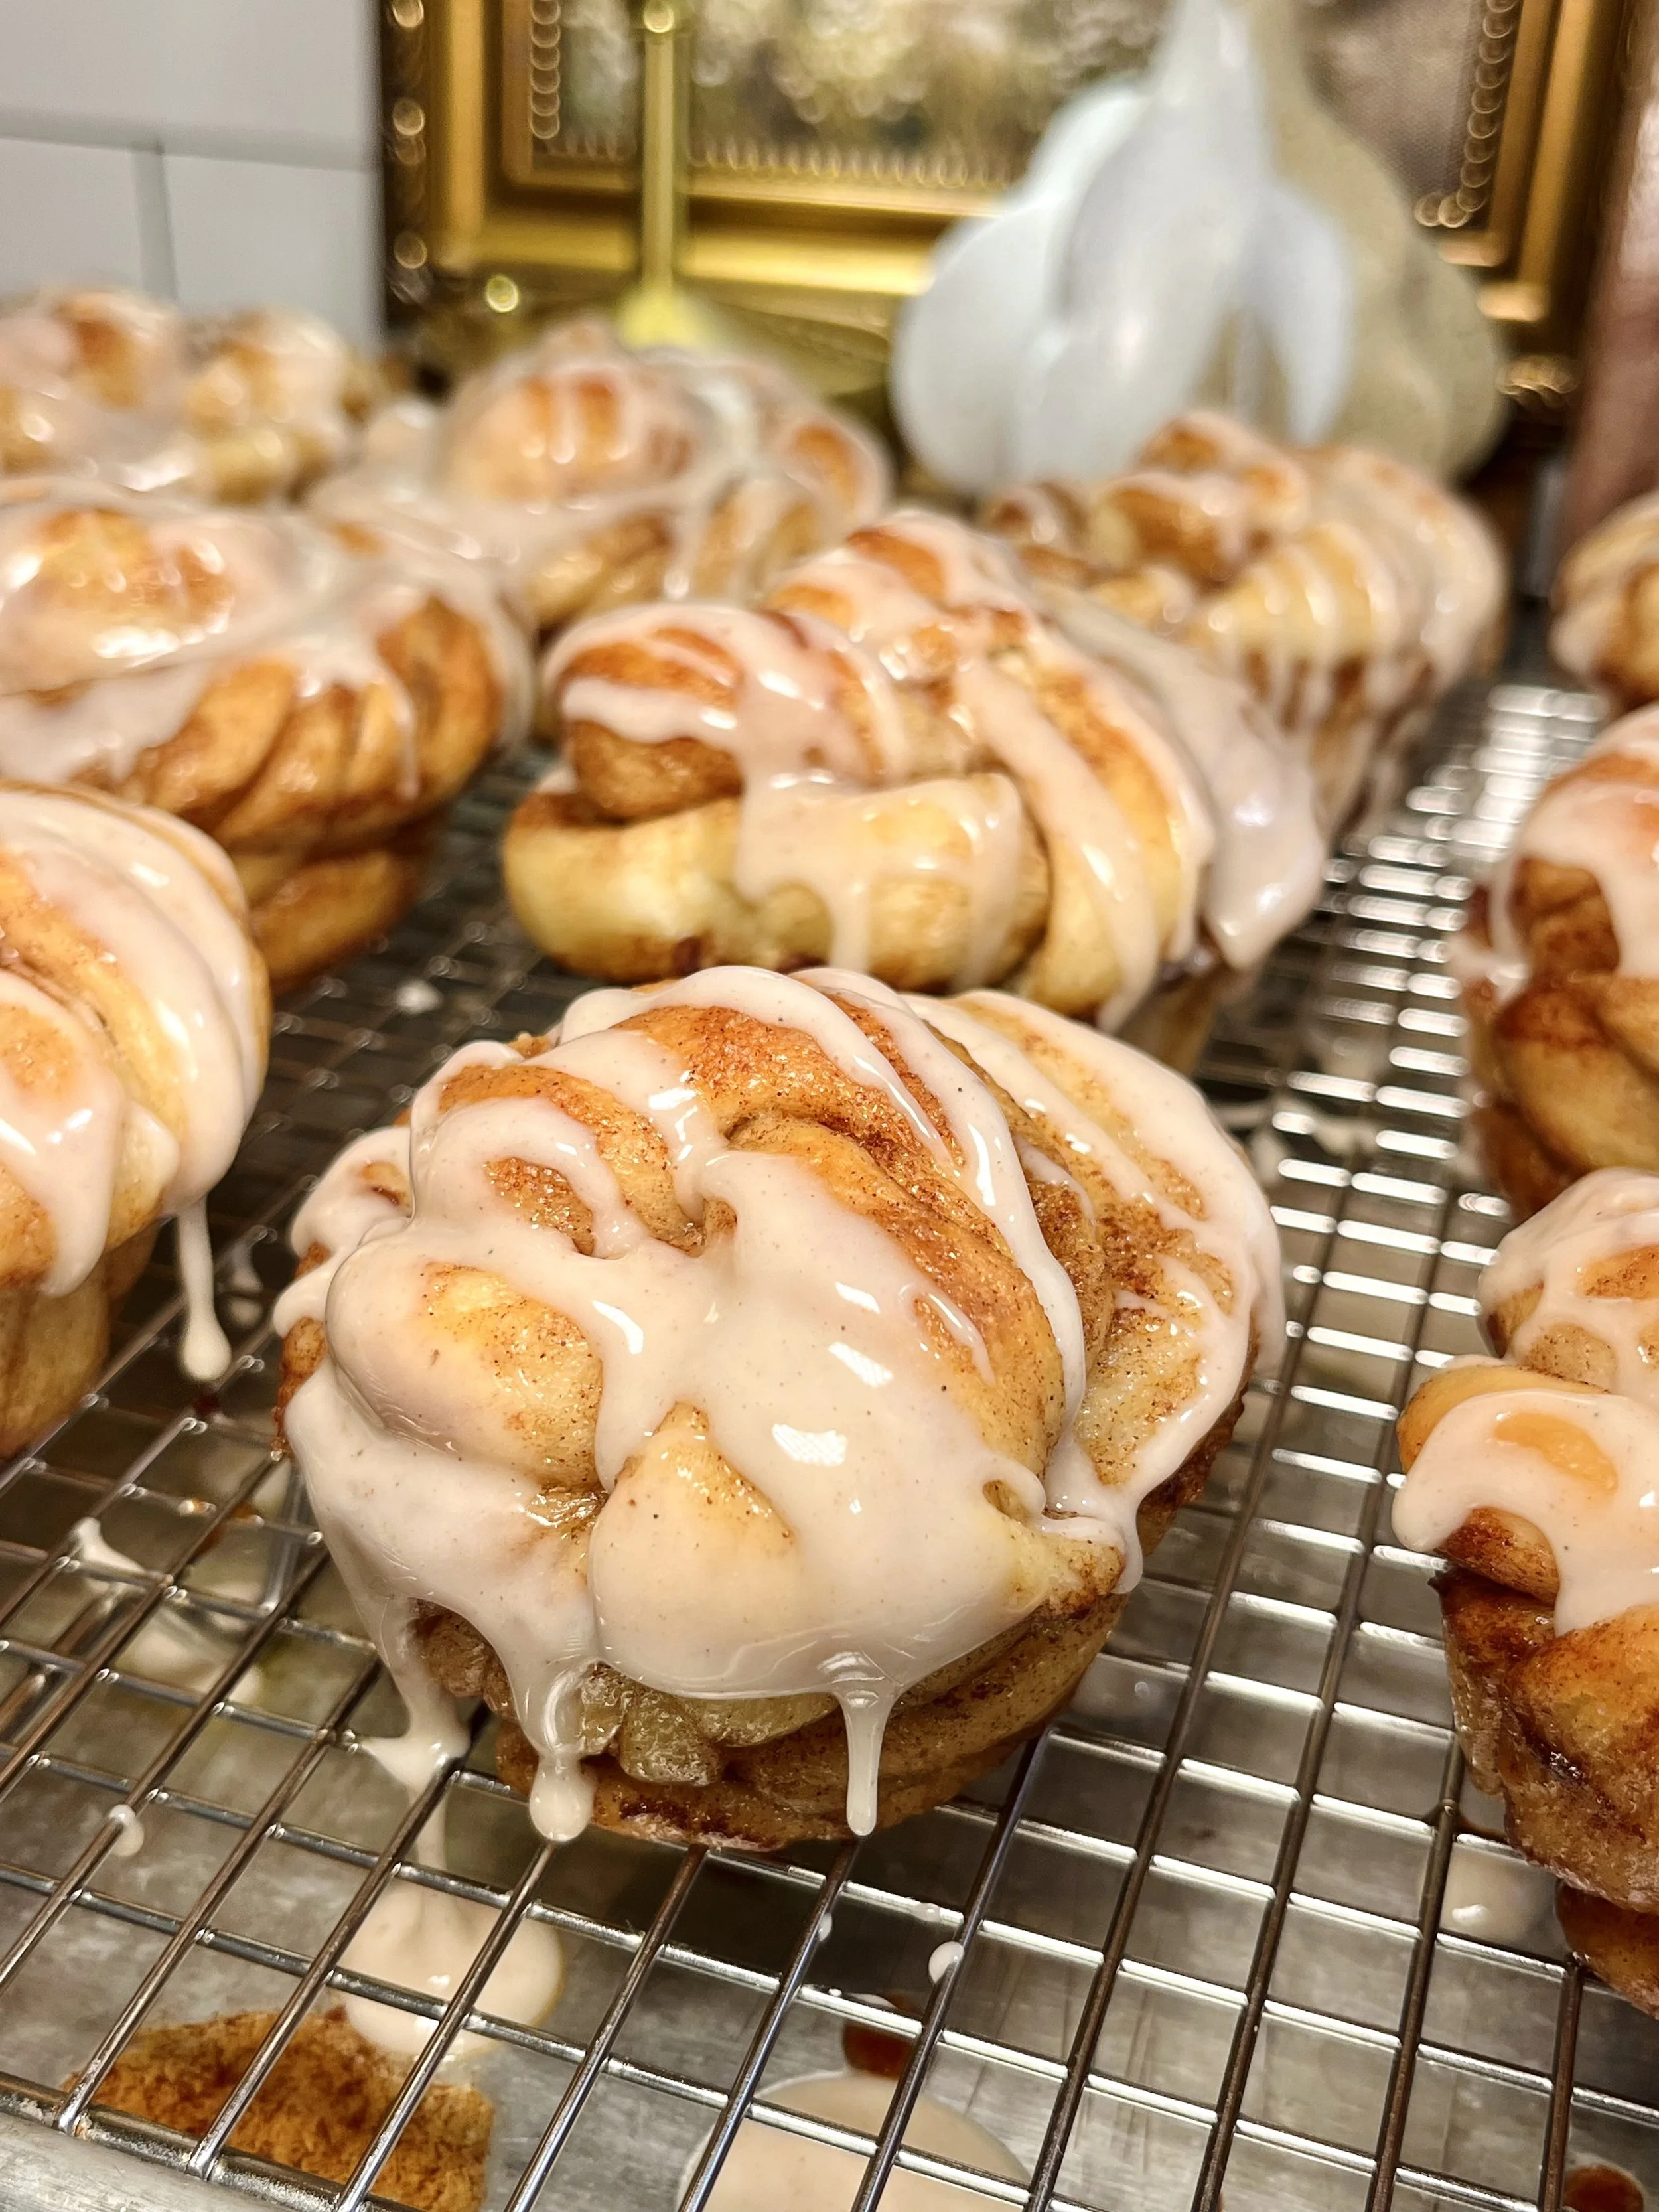
A cinnamon roll has one smooth edge, but a knot is a twisty labyrinth! When you tie the dough into a knot, you create little folds, creases, and four distinct edges that get perfectly caramelized and crunchy during the bake. More edges mean more chewy, golden-brown goodness.
2. The Gooey Pockets Paradox
Instead of a uniform spiral, the filling (butter, cinnamon, and sugar) is tucked into the center of the knot. This creates hidden reservoirs of sticky, buttery caramel that explode with flavor when you pull them apart. It's a treasure hunt with every bite!
3. The Perfect Portion Size
Need a quick breakfast grab? A single knot. Serving dessert at a party? A neat pile of knots looks way more elegant than a messy, communal casserole dish. They’re built for sharing (or not sharing—we won't judge). You get full flavor saturation in a two-to-three-bite package. It’s sweet satisfaction, optimized.
Knotting is Easier Than Tying Your Shoes (Promise!)
If the knotting part sounds intimidating, relax! It's one of the most forgiving ways to shape a sweet roll dough.
Prep the Strip: You simply roll your dough into a rectangle and cover it with the buttery cinnamon filling. Then grab the top of the rectangle and fold the whole thing in half to create a long book.
Cut the Ribbons: Slice the dough into, 16 even narrow strips.
Twist & Tie: Take a strip, cut it in half and give it a simple two strand twist, and then roll it up like a snail and tuck the end at the bottom. That’s it! The messier the twist, the more character your knot has. There are no perfect knots here, only delicious ones.
Pro Tip: Let your knots rise for their final proofing after they are tied. This makes them puff up and hug their cinnamon filling tightly, creating those deep, gooey crevices.
Drizzle or Drench? The Frosting Freedom!
Cinnamon Knots are also highly adaptable when it comes to the final flourish.
You can give them a light glaze (a drizzle of powdered sugar and milk) for a simple sweetness.
You can go all out with a rich cream cheese frosting (like our molasses version!) and dunk them completely.
Or, you can simply brush them with melted butter and sprinkle them with coarse sugar right before they bake for a non-frosted, extra-crispy exterior.
No matter how you dress them, Cinnamon Knots are the fun, flirty, and perfectly portioned pastry you need in your life. Go ahead, get knotty in the kitchen!
What kind of frosting do you think pairs best with a twisty, cinnamony treat?
Classic Cinnamon Knots
Makes 16 knots
Ingredients
For the Dough
25 grams granulated sugar
240 grams warm water (110F)
7 g active dry yeast
1 large egg, room temperature
110 grams unsalted butter, melted
495 grams bread flour
25 grams granulated sugar
1 tsp fine sea salt
For the Cinnamon Filling
100 grams unsalted butter, softened
200 grams brown sugar
1 1/2 Tbsp (9 grams) ground cinnamon
pinch of salt
For the Glaze
50g milk
1 tsp vanilla bean paste, or vanilla extract
200 grams powdered sugar, add more or less depending on the consistency
1/4 tsp ground cinnamon
tiny pinch of salt
Method
To make the dough, in a stand mixer bowl, mix together the yeast with the 25g sugar and the warm water. Allow it to rest for 5-10 minutes.
Add the rest of the sugar, melted butter, and egg.
Then add in the flour and salt and mix until it comes together.
Using a dough hook attachment, knead the dough on medium speed for about 10 minutes until the dough appears to be less sticky. If it is still sticky, add in a tablespoon or two of extra flour to get a smooth and elastic dough.
Cover and let it proof for about 1 hour to 1 and a half hours in a warm environment until it’s doubled in size.
To make the cinnamon filling, combine the butter, brown sugar, cinnamon, and salt until smooth. Set aside.
Grease 16 muffin tins with baking spray and set aside.
When the dough has finished proofing, punch it down and place the dough onto a floured surface. Roll it out into a 12 by 18 inch rectangle.
Spread the filling evenly on top of the dough and then fold the dough in half like a very long book.
Cut the rectangle into 16 even strips. Then, Cut each strip down the middle and twist it like a two stranded braid then roll it up like a snail and tuck the end at the bottom.
Place the knots in the greased muffin tin, cover with plastic wrap and let it rise again until it's almost doubled in size (should come up past the brim of each of muffin tin).
Meanwhile, preheat the oven to 350F.
Bake for about 20 minutes, until golden browned.
Allow the rolls to rest and cool for 15ish minutes before glazing.
Serve warm and enjoy!